Wednesday, March 27, 2013

Sewing Day

Earlier this month I had the chance to spend an entire Saturday sewing with my mom and sister, the first time the three of us had sewn together.  A group of local crafters get together each year in the basement of one of the local churches for an all day event: 8 am - 9 pm.  This year was our first year attending; we had a great time.  There was lots of room, which allowed us to have a really nice set-up.  The three of us put our machines together at one table, then had the ironing board next to us against the wall, as well as a couple tables next to us to spread out on - one long rectangular table with my large cutting mat and then a couple round tables for piling fabrics and blocks.


The kitchen is in the back of the picture above.  I meant to take a picture as the event was pot-luck and there were crock pots plugged in to every available outlet.  Plenty of food to keep us fueled for the day!

That last picture also shows my fabrics neatly laid out on one half of the table - by the end of the night I had used nearly all of them and they were nowhere near this organized!

Here's a look at some of our work - the triangle blocks in the front of the picture here are my sister's (her first quilt!) and in the back some batik blocks my mom was finishing up from last year's block-of-the-month program:

In addition to helping my sister with her project, I spent the day working on wonky log cabin blocks.  I am piecing them on a muslin foundation - each one takes FOREVER!  This could partly just be me as I am not a grab-and-go sewer; I tend to think for a while before settling on which fabric to use next.

By the end of the night I only had three new blocks done; they started out as 8", 9" and 12" blocks.  The 9" block ended up getting cut off to be rectangular.  I was SO happy with how they turned out!

The block on the left above is the first block I had made for this quilt, in Fall 2011.  For that block I had used an Anna Maria Horner Good Folks fabric, fussy cut, for the center flower.  The three on the right are the new blocks, and I used fussy cut pieces of a Madrona Road print.  I have been wanting to work on this project again for months and was glad to fit in some time for it.


I ended up liking these so much I'm seriously considering framing them.  They don't really go with our decor, but I might put them up anyway.  It's going to take me quite a while to finish the quilt and I don't like to think of them sitting in a box for so long...  I'm adding bits of embroidery to each of the log cabin blocks in this quilt; I haven't done that on these yet.  You can see a close-up of the embroidery on the original block here.

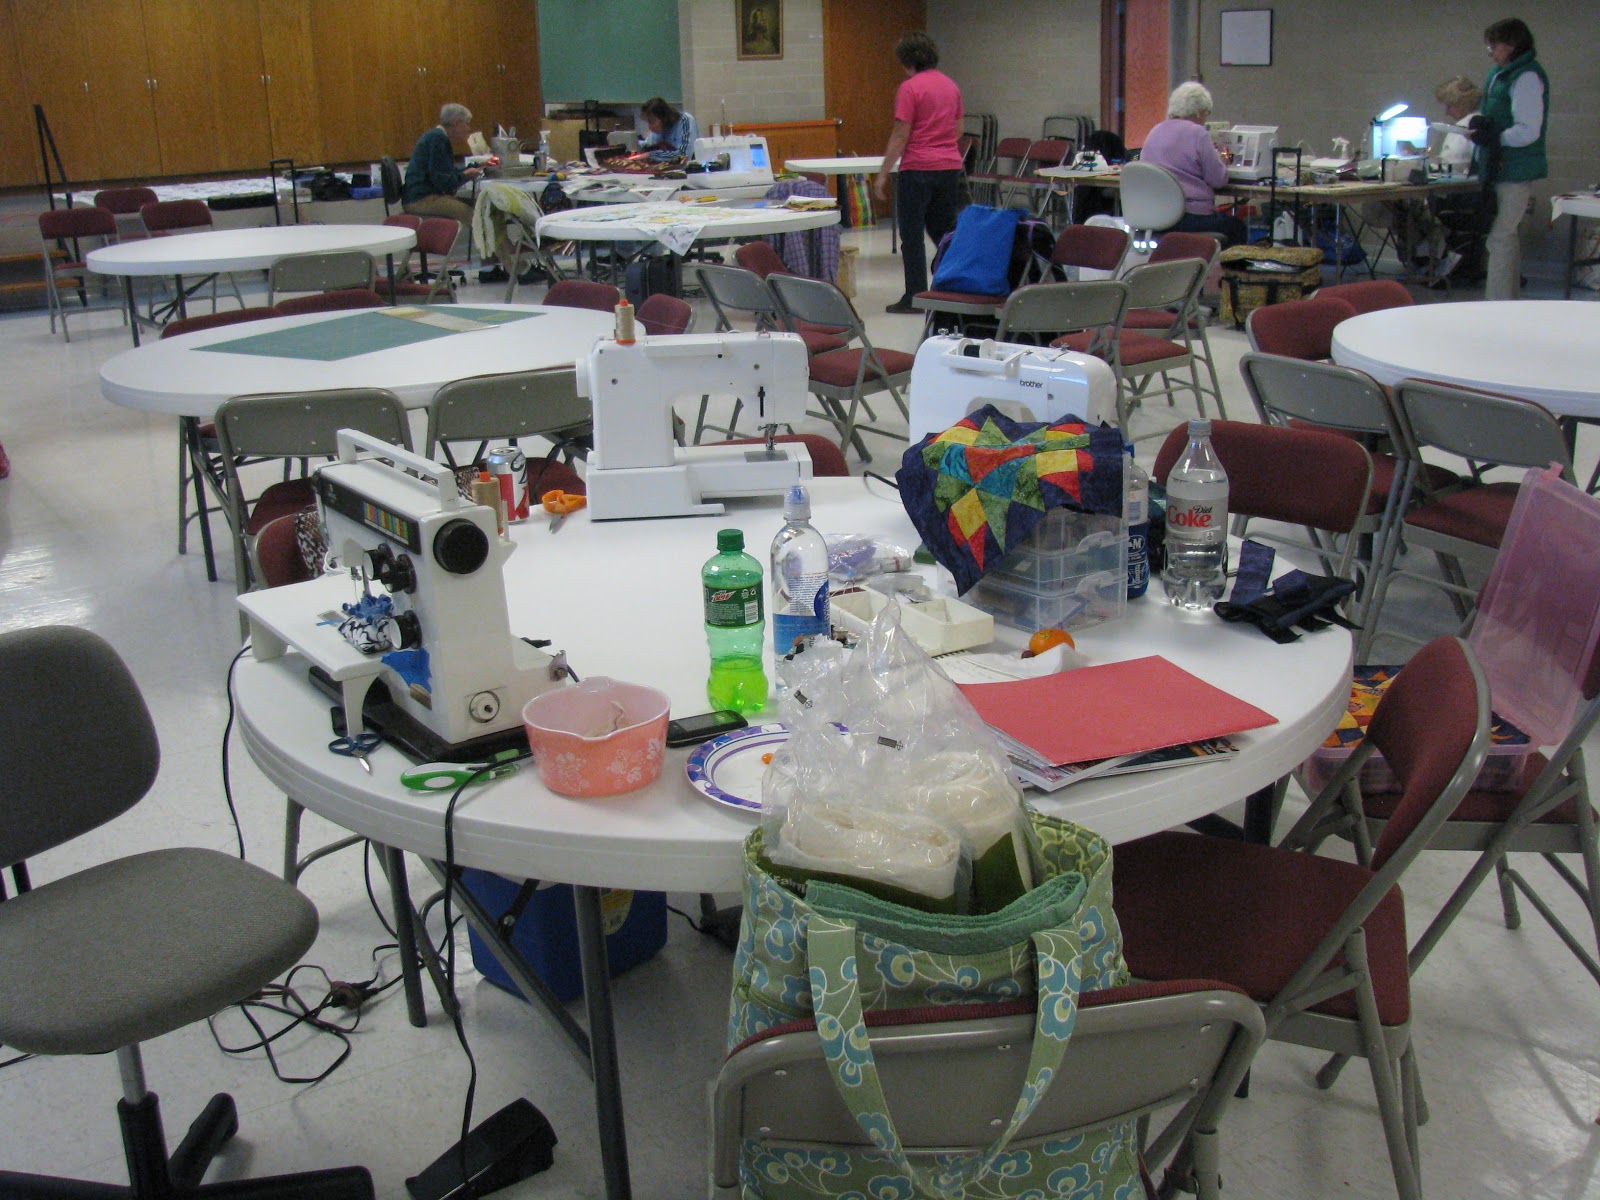
In addition to sewing it was fun to walk around the room throughout the day and see what some of the other ladies were up to.

This lovely quilt was pieced using vintage pieces from a family member's stash of fabric.

And this scrap quilt also caught my eye:

The lady holding the quilt above (I cannot recall her name) was also kind enough, with her daughter, to give my mom and I a tour of the church's quilt room.  The room was specially built during a church addition back when there was a large group of women who would sew quilts throughout the year, both for charity and to raise funds by selling quilts at the church's annual outdoor festival.  There were shelves upon shelves of donated fabrics of all types.  There are only a few ladies left who volunteer their time and many of the quilt they make are tied, but there were two quilt frames set up in the room for hand quilting the "special" quilts.  Here's one they were working on:


All in all a fun day, and it was great that it was only a few minutes from home.  Next year I want to remember to either bring some kind of mat to stand on, or bring a project where I'm sitting at the sewing machine most of the day.  This year I spent lots of time standing, bent over the cutting table and my back and feet were definitely aching by the end of the day!

Saturday, March 16, 2013

Block-of-the-Month 2013: Block #6


This block was both easier and more difficult than the other blocks I've made for this quilt.  A traditional version of this block is very straightforward, squares of the same size, and quarter-square triangles, all the same size.  Figuring out the measurements for a smaller block than the pattern called for was pretty simple.  But since I am making each of the blocks in this quilt wonky in some way, and because of the construction method of this block - joining diagonal rows together, there were a couple joined units that were tricky to figure out the math on.

I cut the center square and pink squares to size, and then the corner squares as well as all of the triangles a little large.  Combined with the wonky piecing I had a lot of units to trim down.  For the pink square and dark purple triangle units, I used a small square ruler to first trim along the sides of the purple triangles to line up with the square edges:


Then to trim the long purple edge, I used a larger ruler to measure a 1/4 inch from the edge of the pink square, using the 45-degree line to run along one side of a purple triangle, and the bold white line to run through the points of the square to make sure it was straight:


The outside corner units were more difficult to trim.  The purple square was larger than it should be and the triangles had been sewn on wonky, at different angles.  I ended up sketching out a paper template and using that to help with placing the second green triangle before sewing and then to help line up my ruler to trim afterward:


The photo above shows how I trimmed the sides of the purple "squares".  I used the small square ruler to measure the correct rectangle size on the bottom portion of the unit, and then lined up a triangle ruler along the top edge to cut at a 45-degree angle to get the side of my square.  To trim the other purple edge I would rotate the square ruler 90 degrees and line up with the left edge and then flip the triangle ruler, line up, and trim.

There were a lot of bias edges in this block, and because of making the corner units wonky I also ended up with bias edges on the outside corners of the block.  Those corner squares ended up pretty close to square but not perfect.

While it's not my favorite block I've made for this quilt, I do like it quite a bit.  The color scheme was pulled from the border fabric I have planned for this quilt.  So far I've been using darker pinks and lime greens, but it was time to start pulling in some mint green and lighter pink.  You can probably spy the green, pink, and blue flower in the border fabric that I used for this month's color inspiration.


Linking up with Finish it up Friday.

Sunday, March 10, 2013

Fabric Shopping - Done!

A couple months ago some friends and I set the date for an all-day fabric shopping adventure - Saturday March 9.  It seemed like it took forever for the day to arrive, but yesterday finally came.  With lots of excitement and lists in hand, we set out at 7:30 in the morning to spend the day in the most dreary weather.  Gray skies and a wintry mix of slush, sleet, snow, rain, and slick roads accompanied us throughout the day.  We counted six cars in the ditch on our way north, but it didn't stop us.  We were dedicated.

Our first stop of the day was Country Fabrics and Quilting in Brainerd.  I think it may have been a year since I was last there; we stayed for two hours.  And I realized after I got home that I really didn't look around enough!  I meant to look through the shelves in detail, but got distracted by a little project I've looked at several times in other quilt shops but didn't think needed to be on my must-have list.  When I saw the samples at Country Fabrics they were just so darn amazing that I changed my mind and ended up buying the pattern and enough supplies and materials to make two!  The pattern is Terry Atkinson's Classmate.  Isn't this mix of Echino and Melody Miller lovely?  Plus fun colored zippers and Echino webbing...I could just about say eek.


I lucked out yesterday as Steffani, who runs the shop with her mom, was working.  Such a treat to chat with her about all things fabric- and sewing-related.  She gave me names of a couple designers I'm not familiar with (can't wait to look them up!) and was so super-helpful w/ project details.  She (and her mom) often make additional samples, modifying the pattern in some way, which is great visual inspiration to help you see different ways to work with the pattern.  And they're always willing to talk through the samples with you, sharing any special techniques they used when making the project.

Here are a couple pics from Instagram of one of the Classmates Steffani made - outsideinside, and all filled up and ready to use.

I love their shop and wish I lived closer!  Planning to make sure it's not another year before my next visit.

After stopping at the other quilt shop in Brainerd, Colorz for Quilts, and lunch at Hardee's, we headed back down to St. Cloud for a stroll through Gruber'sCrafts Direct, and JoAnn's.  I stuck pretty close to my list the rest of the day.

I picked up pink and orange solids, and that brown and white text print at the bottom to go with this little bunch of fat quarters I had put together from my stash.  I've had a plan for this set for a little while now, but needed the solids to go with it.  I had been envisioning pretty pink and orange shot cottons, but I don't think any are available in these particular bright shades, a bummer as I really wanted that soft texture and extra depth.  Luckily I found shades of Kona at Crafts Direct that perfectly matched my vision, and they were on sale for $4.98 a yard (All Kona is on sale through the end of the month if any of you need to stock up on solids).

Last Sunday I was at Millie P's looking for binding fabric for a different project, and they had Posy in stock; I didn't have my fat quarters along, but took a gamble and bought some, planning ahead for the backing of this quilt, and was pleased to find when I got home that it was a great match.  Here's a shot of it all together:


Spring-y and fun. Yum!

Aside from the Classmate supplies and additions for the project above I picked up a few random pieces:


I have tentative plans for the typewriter fabric and the gray fat quarter at the bottom, but the rest was for fun.  I've been keeping my eye out for black fabrics that I like, picking them up here and there for a future quilt, but letting that one simmer for a while and collecting slowly.


The pigs are from Heather Ross' Nusery Versery line - as a side note my favorite project with that line was Rachel's mini quilt.  I'd love to have a piece of the mice on white; they're just so cute.  Looks like this shop still has some and it's even on sale...but, saving my pennies for an upcoming bus hop I'm going on with my mom.


All in all a fun day with friends that had us feeling excited and inspired to get sewing!

Saturday, March 9, 2013

Matching Purses

Last night I finished up a set of matching purses for my nieces' birthdays, which are only a few weeks apart.  I came up with a sketch and made two as they like to have the same things as each other! :)


They have a pocket inside and a nice long handle so they can wear over their shoulder or across the body from the opposite shoulder.  Hoping to post a tutorial for these this weekend.  For now I'm on my out the door for a day of fabric shopping!


Linking up to Finish it up Friday.